 In last week's Google+ Monday edition of the Daily Golden Nugget, I explained how to set up a new Google+ Business page. In this edition I'll show you how simple it is to create a badge for your Google+ Page that you can put on your website.
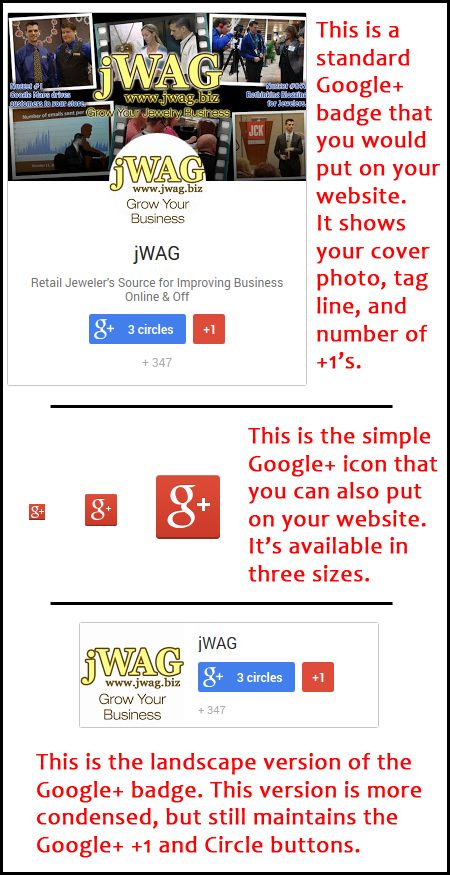
First off, let me explain what a "badge" is. It's simply the widget that you place on your website which allows people to either follow your Google+ Page directly from your website or +1 your Page. The badge is available in a large portrait format, as an icon, or in a landscape format.
This is what they look like:

Go to this website address to get your own code:
https://developers.google.com/+/web/badge/
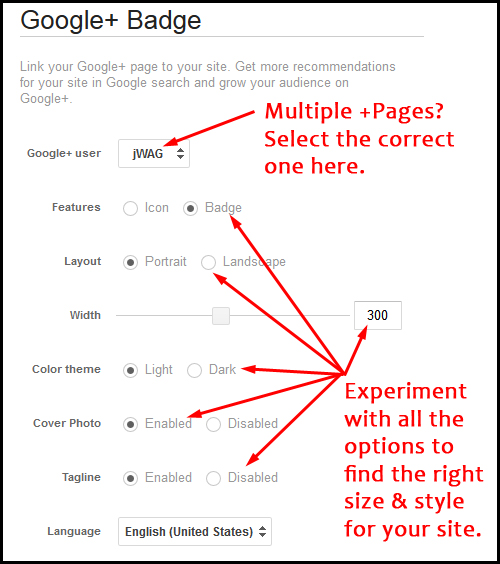
This is a screen grab of the different settings that are available for you:

If you have multiple pages, you'll be able to select the one you want from the "Google+ user" dropdown box.
Experiment with all the options to find the right size and style for your site.
The portrait format is the largest type of badge because it will show your cover photo and your tag line. It also has a button that allows people to add you to their circles without ever leaving your website. The button appears white for people who haven't circled you, and blue (like shown above) for people who have circled your page.
The portrait format also has a red +1 button so users can indicate their casual endorsement of you page when they click it.
If you already have other icons for Facebook, Twitter, and Pinterest on your website, then you'll also want to place the Google+ icon right next to them.
Select the icon version from the settings and then choose the small, medium, or large size as needed.
Alternatively, you can also choose the landscape version of the badge as shown in the example above. This shorter badge is a good format for websites with cluttered side navigations, like a typical blog.
After you've figured out the right settings, you need to copy the snippet of code shown in the window below the badge, shown here:

There are two parts to this code. The part that I highlighted in red needs to be inserted into the HTML code of your website wherever you want the badge to appear.
The rest of the code, everything from the blue highlighting to the bottom, needs to be inserted somewhere in your code after the badge. The easiest approach is simply to add this to the default code in the footer of all your pages.
The icon code is easier because you don't need to put anything in your footer; just place the icon code next to the rest of your social media icons.
The first step in getting people to interact with your Google+ Page is to tell them you have one. Adding these badges to your website will begin this process.


